Renovating a kitchen is one of the most exciting—and daunting—home projects you can tackle. It’s a chance to create a space that’s beautiful, functional, and tailored to your life, but without a solid plan, it can quickly spiral into stress and overspending. Whether you’re dreaming of a sleek modern upgrade or a cozy farmhouse vibe, careful planning is the key to success. In this step-by-step guide, we’ll walk you through the process of planning a kitchen renovation, from setting goals to final touches. Ready to transform your kitchen? Let’s get started!
Step 1: Define Your Goals and Budget
Before you pick a single paint color or cabinet style, decide what you want from your kitchen. Ask yourself:
- Functionality: Do you need more storage, better lighting, or an open layout for entertaining?
- Style: Are you leaning toward modern, traditional, or something eclectic?
- Budget: How much can you spend? A full remodel might range from $20,000 to $50,000+, depending on scope and materials.
Write down your must-haves (e.g., a new island) versus nice-to-haves (e.g., a wine cooler). Then, set a realistic budget, adding a 10–20% buffer for surprises like plumbing fixes.

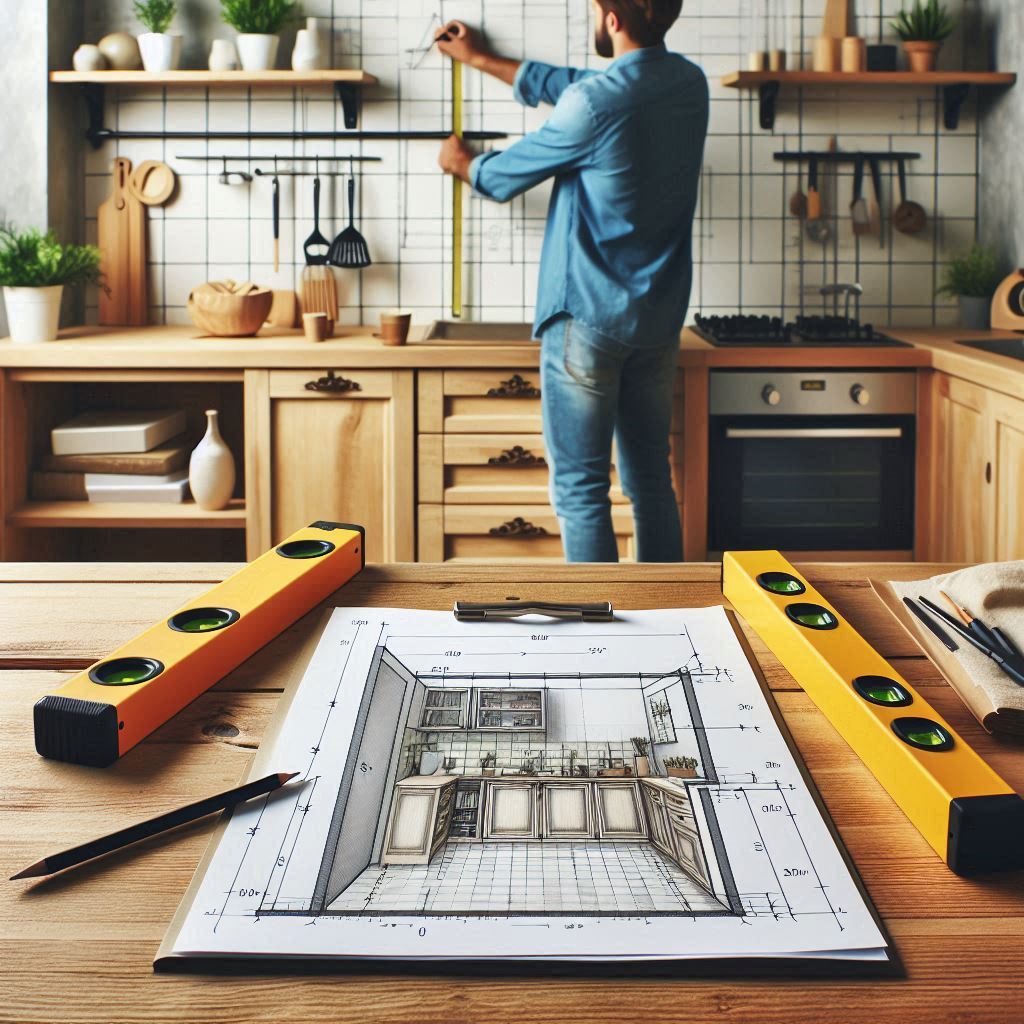
Step 2: Measure and Assess Your Space
Next, get to know your kitchen’s bones. Grab a tape measure and note:
- Wall lengths, window sizes, and door placements.
- Locations of plumbing, electrical outlets, and gas lines.
- Ceiling height for tall cabinets or lighting.
Assess what’s working (e.g., good natural light) and what’s not (e.g., cramped counters). This helps you decide if you’ll keep the existing layout or reconfigure it—say, knocking down a wall for an open plan.
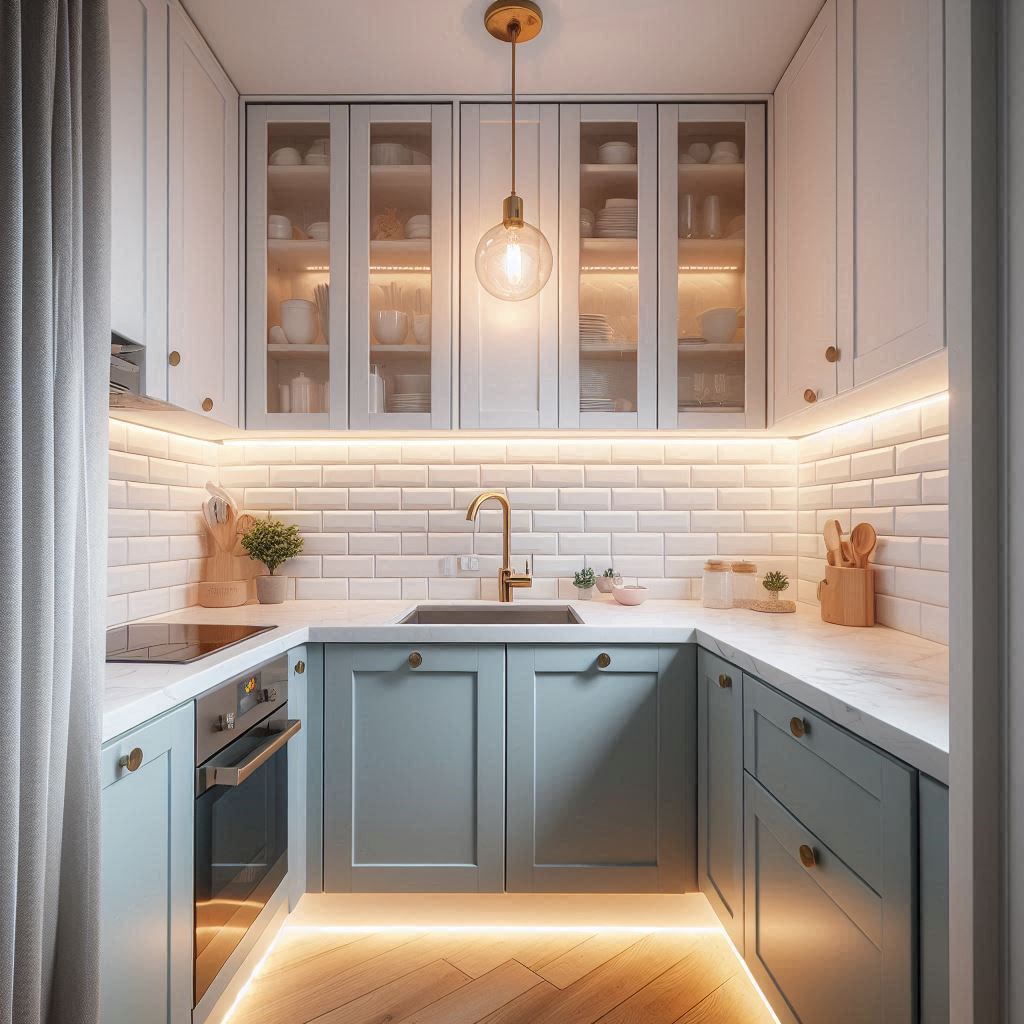
Step 3: Choose Your Kitchen Layout
The layout sets the flow of your kitchen. Popular options include:
- Galley: Efficient for narrow spaces with two parallel counters.
- L-Shaped: Great for corners, leaving room for a table or island.
- U-Shaped: Maximizes storage and workspace in larger rooms.
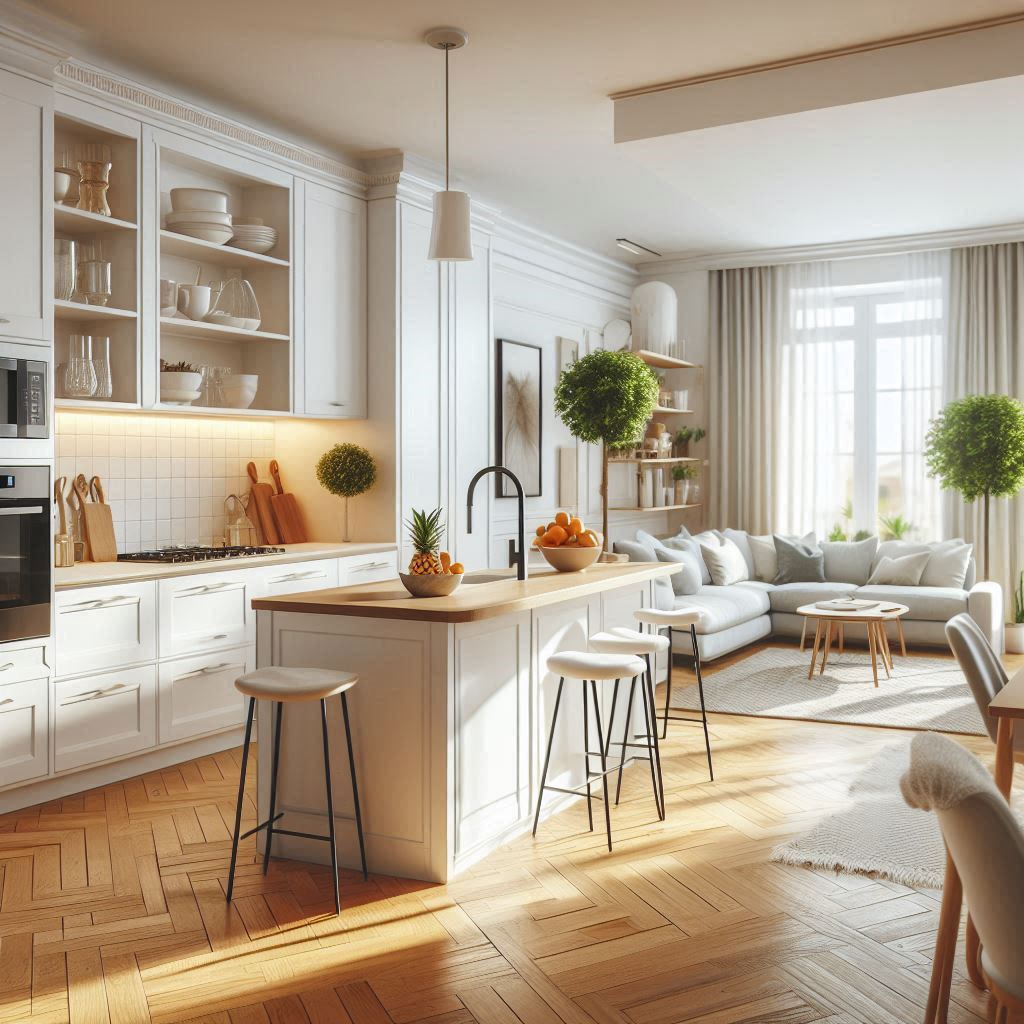
- Open-Plan: Combines the kitchen with living areas for a spacious feel.
Pick one that fits your space and lifestyle. Love hosting? An island in an open layout might be perfect. Solo cook? A galley could suffice.
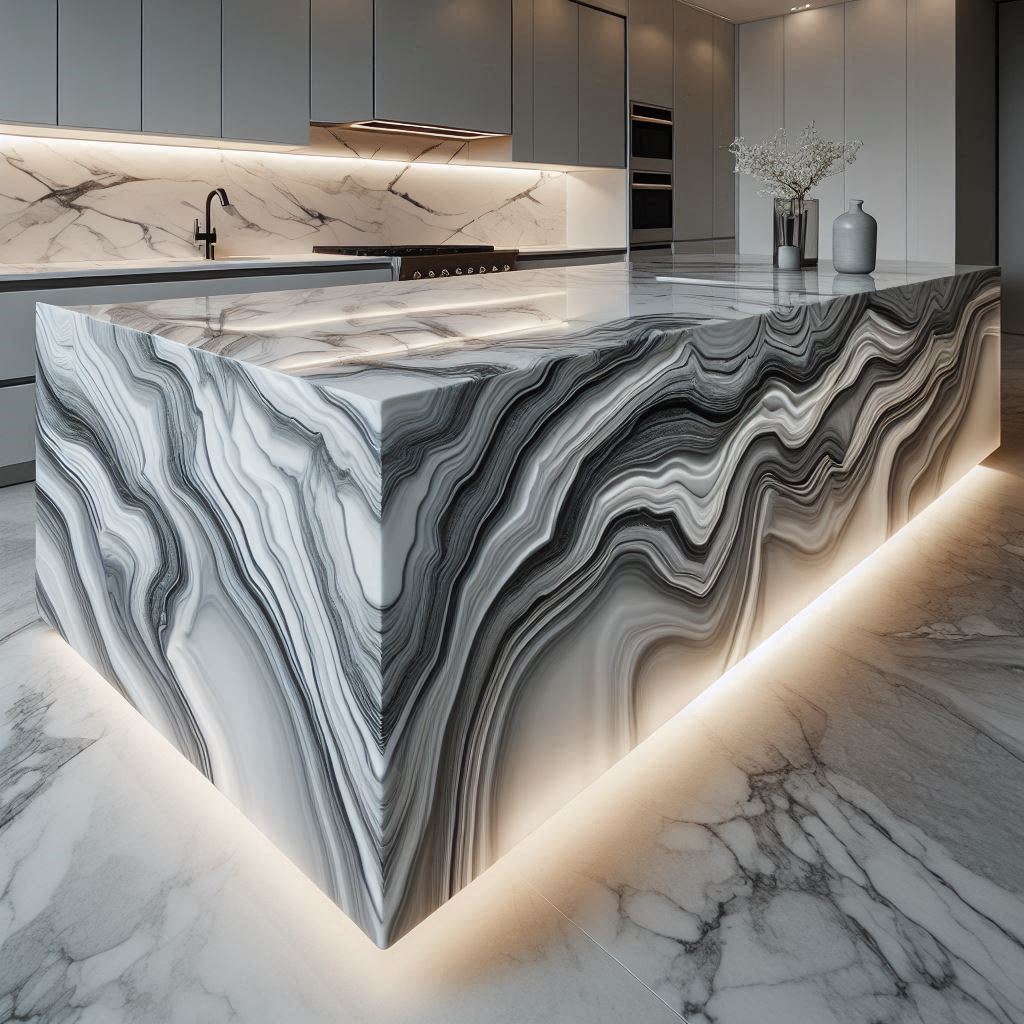
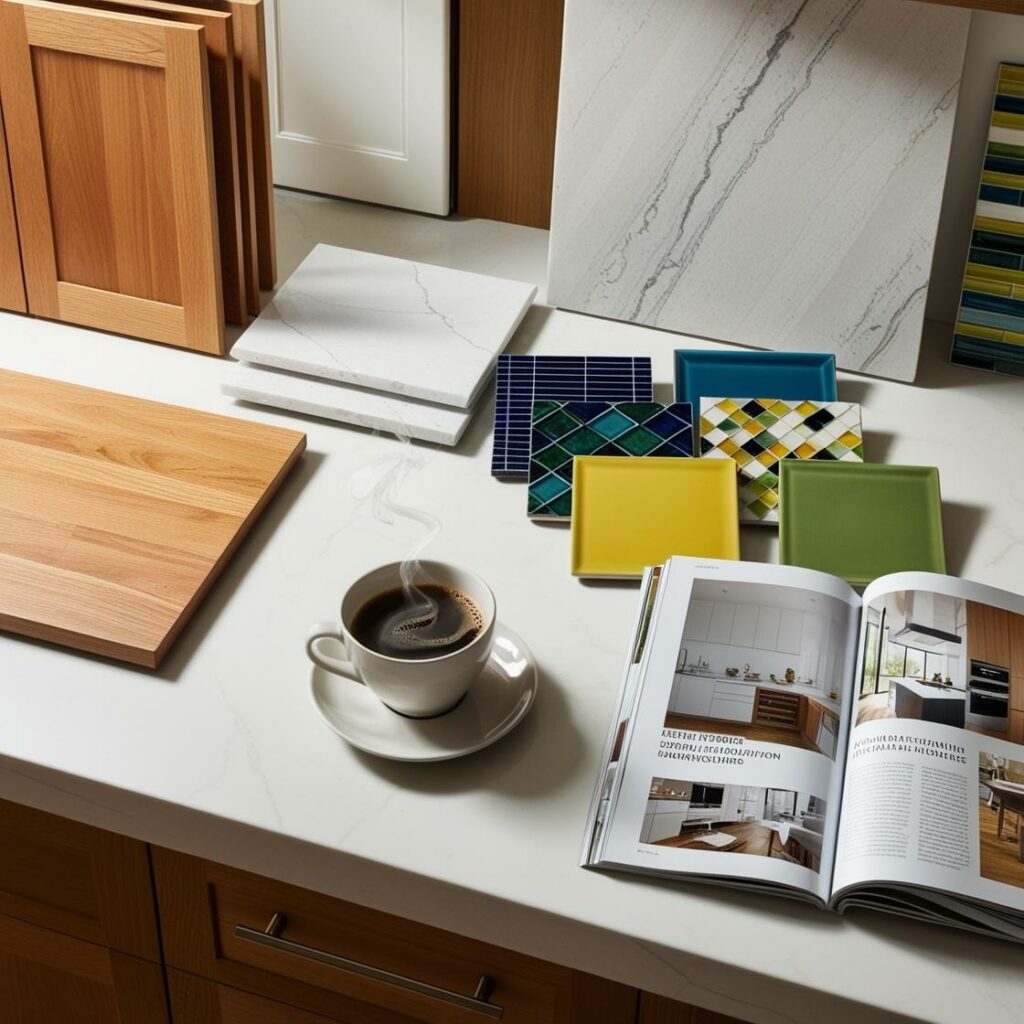
Step 4: Select Materials and Finishes
Now comes the fun part—choosing the look! Focus on these key elements:
- Cabinets: Custom wood for luxury or sleek laminates for affordability.
- Countertops: Quartz for durability, granite for elegance, or butcher block for warmth.
- Backsplash: Subway tiles for timeless appeal or bold patterns for a statement.
- Flooring: Hardwood for classic style or porcelain tiles for easy upkeep.
Stick to a cohesive color palette—think neutrals with pops of color—to tie it all together. Order samples to see how they look in your lighting.
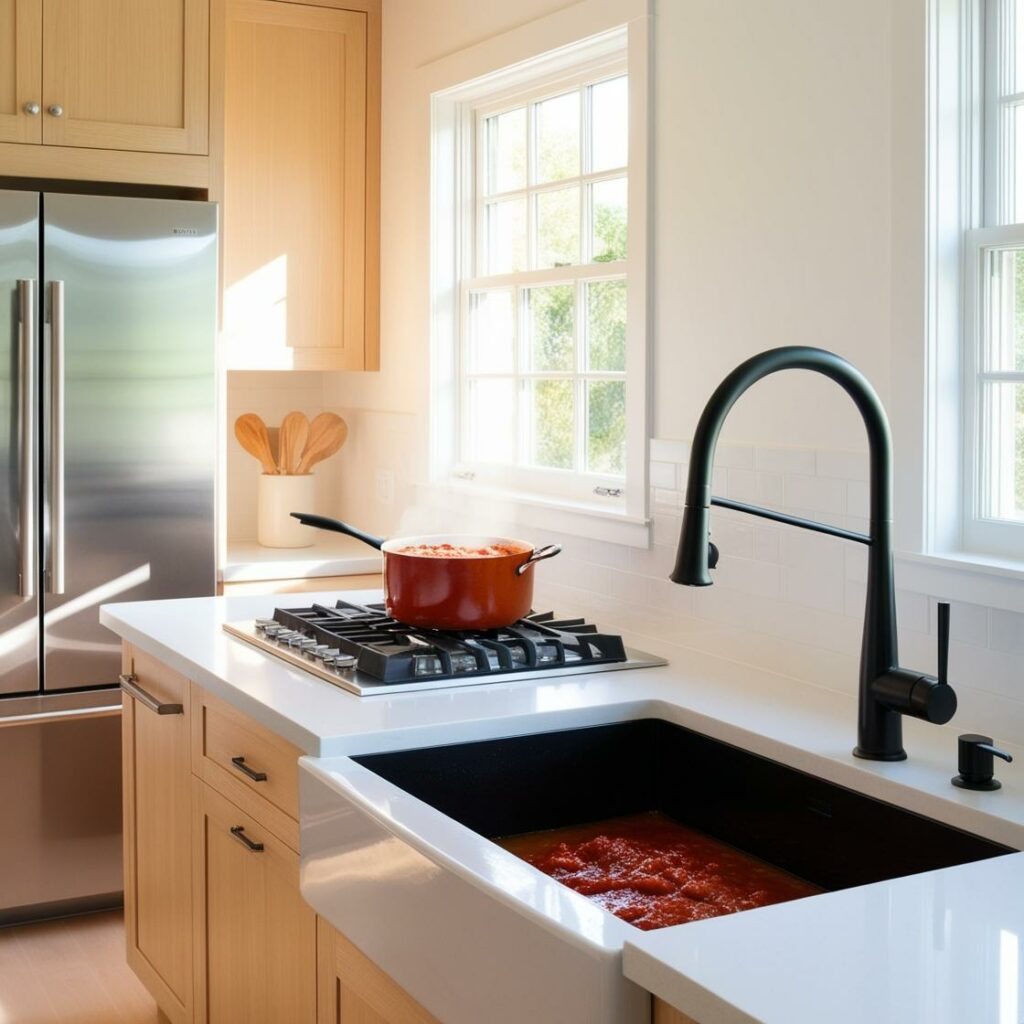
Step 5: Pick Appliances and Fixtures
Appliances and fixtures should blend style with function:
- Refrigerator: French door for convenience or built-in for a seamless look.
- Range: Gas for precision cooking or electric for sleekness.
- Sink and Faucet: A farmhouse sink with a touchless faucet for a modern twist.
Consider energy efficiency to save on bills, and match finishes (e.g., stainless steel or matte black) for a polished vibe.
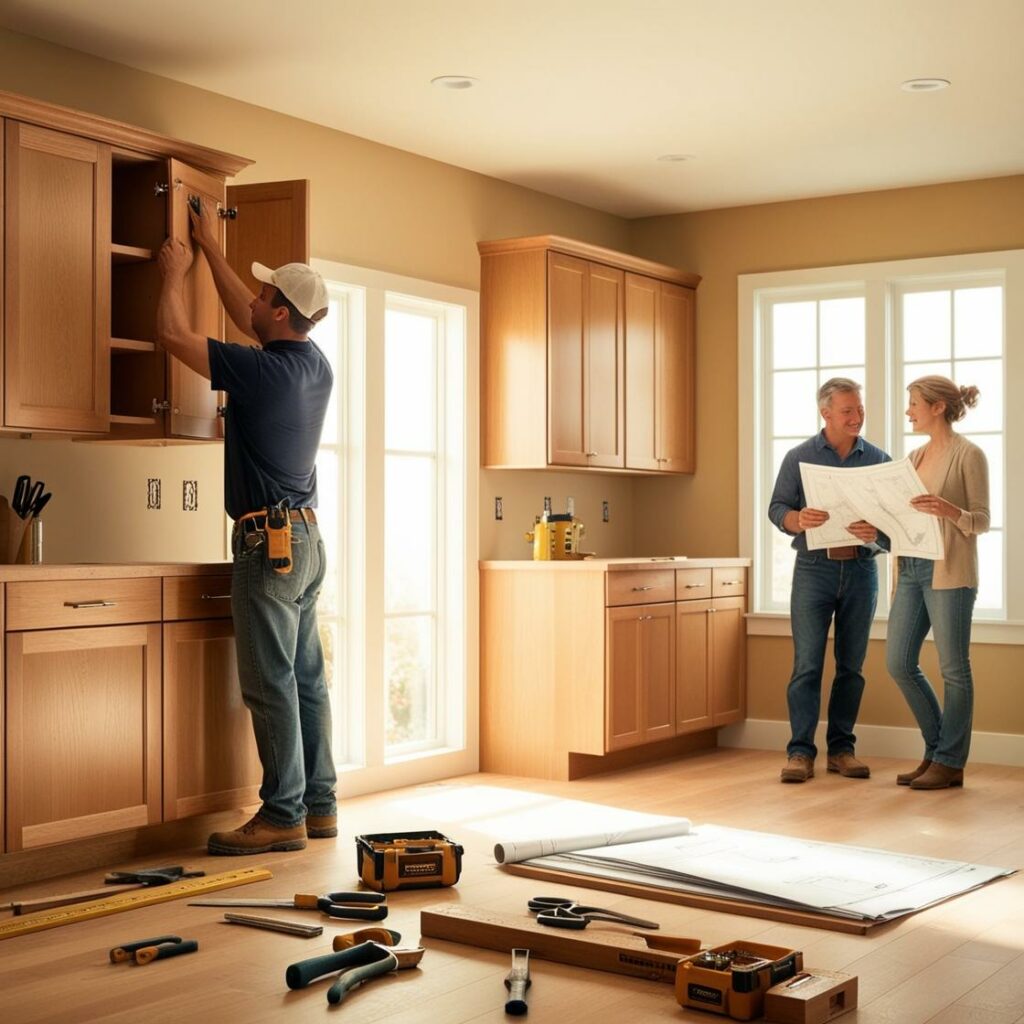
Step 6: Hire Professionals or Plan DIY
Decide who’s doing the work:
- Professionals: Designers and contractors ensure quality, especially for plumbing or electrical changes. Get quotes from 2–3 pros and check reviews.
- DIY: Save money on tasks like painting or installing backsplash if you’re handy—but leave structural work to experts.
For a smooth project, create a timeline: demolition (1–2 days), plumbing/electrical (1–2 weeks), installation (2–4 weeks), etc.
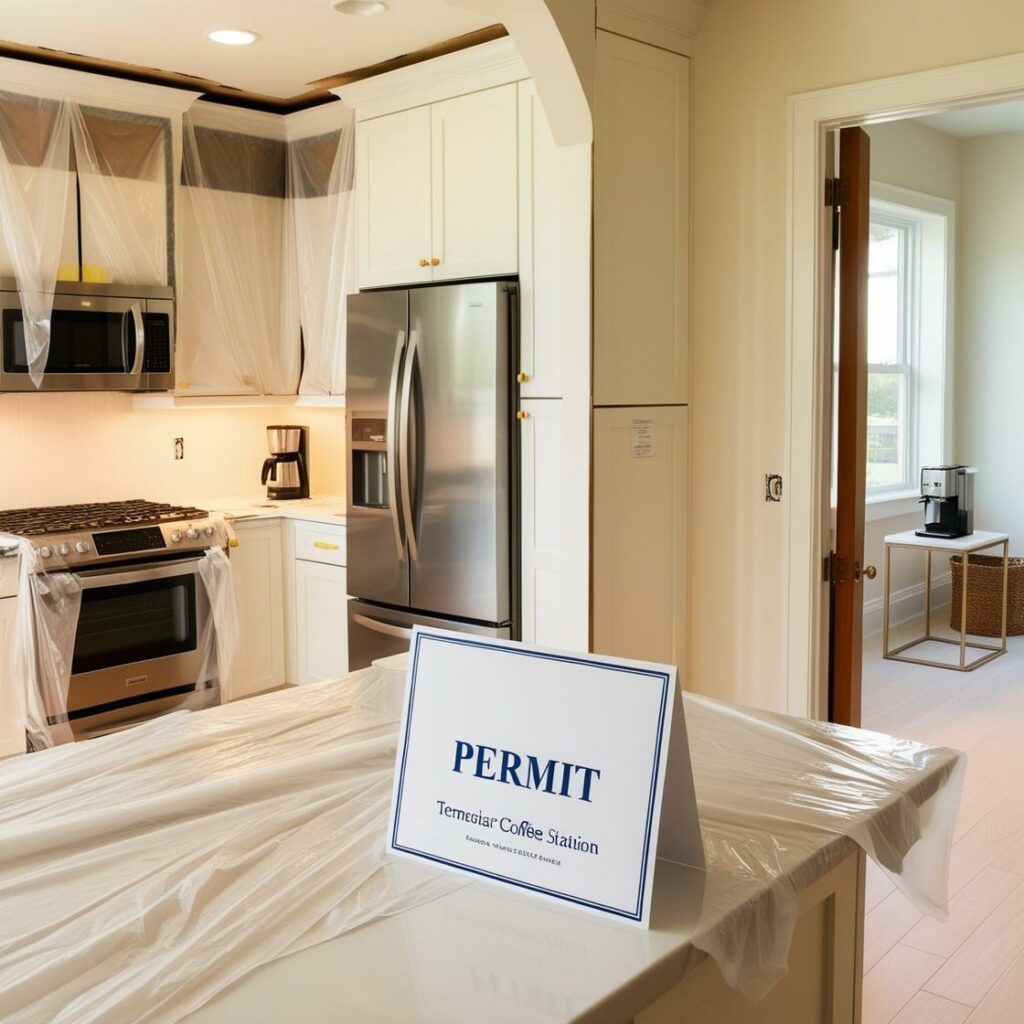
Step 7: Finalize Permits and Prep the Space
Check local regulations—moving plumbing or walls often requires permits. File paperwork early to avoid delays. Then, prep:
- Clear out cabinets and appliances.
- Set up a temporary kitchen (e.g., a microwave in the dining room).
- Protect floors and furniture with drop cloths.
A little prep now saves headaches later.
Step 8: Execute and Add Finishing Touches
Once construction starts, stick to your timeline and communicate with your team. After the big stuff—cabinets, counters, appliances—is in, add:
- Hardware (e.g., chic brass pulls).
- Lighting (e.g., pendants over the island).
- Decor (e.g., plants or artwork).
Step back and admire your work—it’s your dream kitchen come to life!
Conclusion
Planning a kitchen renovation takes time and effort, but with these steps—defining goals, measuring, choosing layouts, materials, and pros—you’ll end up with a space that’s both stunning and practical. Need help bringing your vision to reality? At Herefor Kitchens, we specialize in designing and building kitchens that fit your style and budget. Contact us today for a consultation, and let’s start planning your perfect kitchen!